「Unity体験会」参加者向けに、Unityのインストール方法を解説しています。このページを参考に、体験会参加前に自分のパソコンにUnityをインストールしておいてください。

(本解説は作成時の最新安定バージョン(LTS)である Unity6.0 を使用しています。新しいバージョンが頻繁にリリースされますがインストール方法は変わりませんので、最新版をインストールして下さい)
(操作法や画面イメージには Windows のものを使用しています。Macを使用している場合、適宜そのOSに適した操作を行ってください。)
【インストールが必要なソフトウェア】
3つのソフトウェアを以下の順番でインストールします。
1. Unity Hub
この後インストールする Unityエディタの各種バージョンや、Unityエディタで作成するプロジェクトを管理するソフトウェア。
2. Unityエディタ
Unityでゲームを作成する際に使用するゲーム開発ツール本体。
3. Visual Studio
Unityでプログラムを記述する際は Unityエディタでなく別ツールを使用します。Visual Studioは Unityエディタと連携して使用できるプログラム記述ツール。
【作業概要】
以下の流れで Unityインストール作業を実施していきます。
【インストール方法】
① Unity Hub インストーラーのダウンロード
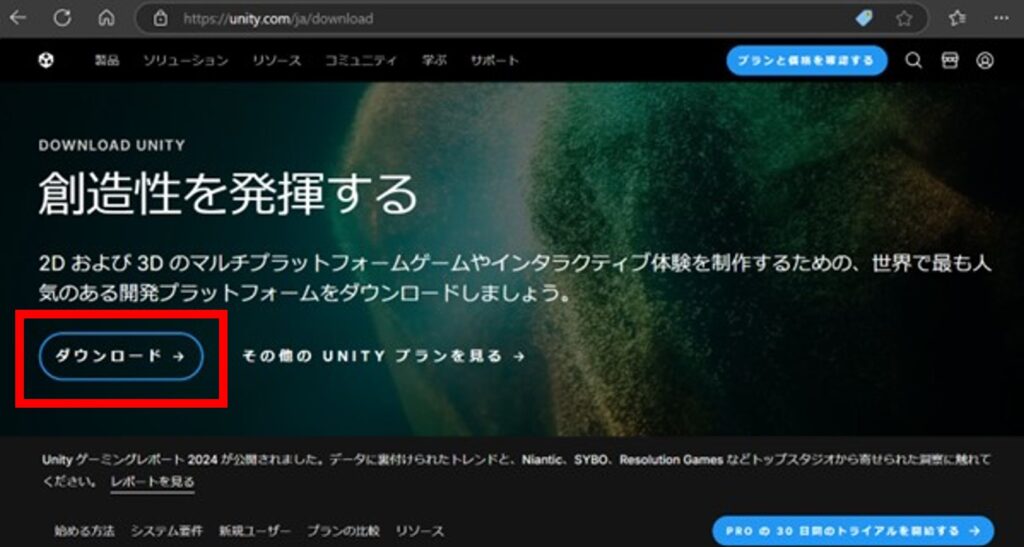
ブラウザを用いて、以下のサイトにアクセスします。
「ダウンロード」をクリックして、インストーラーファイルをダウンロードします。
② Unity Hub のインストール
PC にダウロードしたインストーラーファイルをダブルクリックして起動させます。
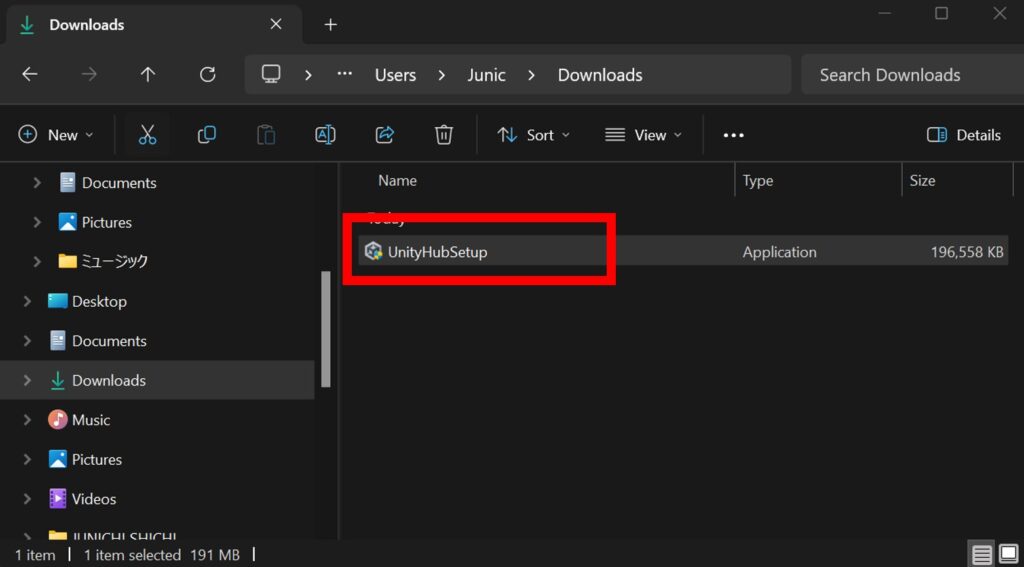
Unity Hub のインストーラーが起動されます。
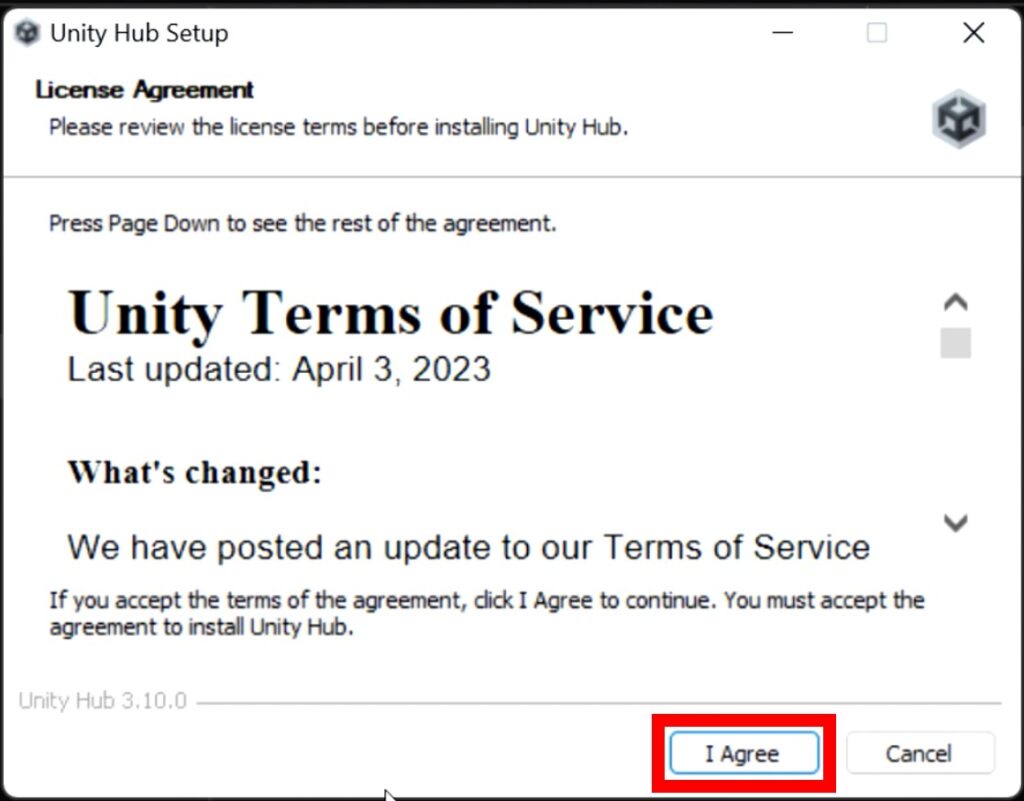
ライセンスの画面が表示されます。内容を読んで「I Agree (同意する)」をクリックします。
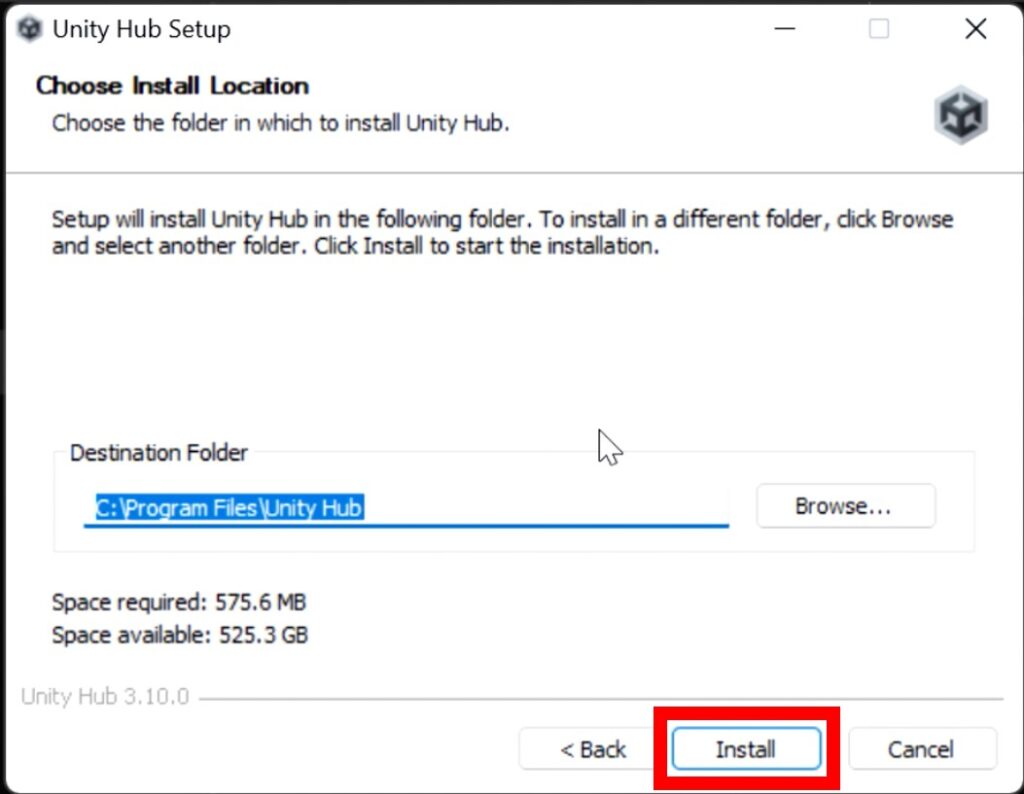
次にイントール先フォルダの設定画面が表示されます。ここは変更の必要はありません。
「Install (インストール)」をクリックします。
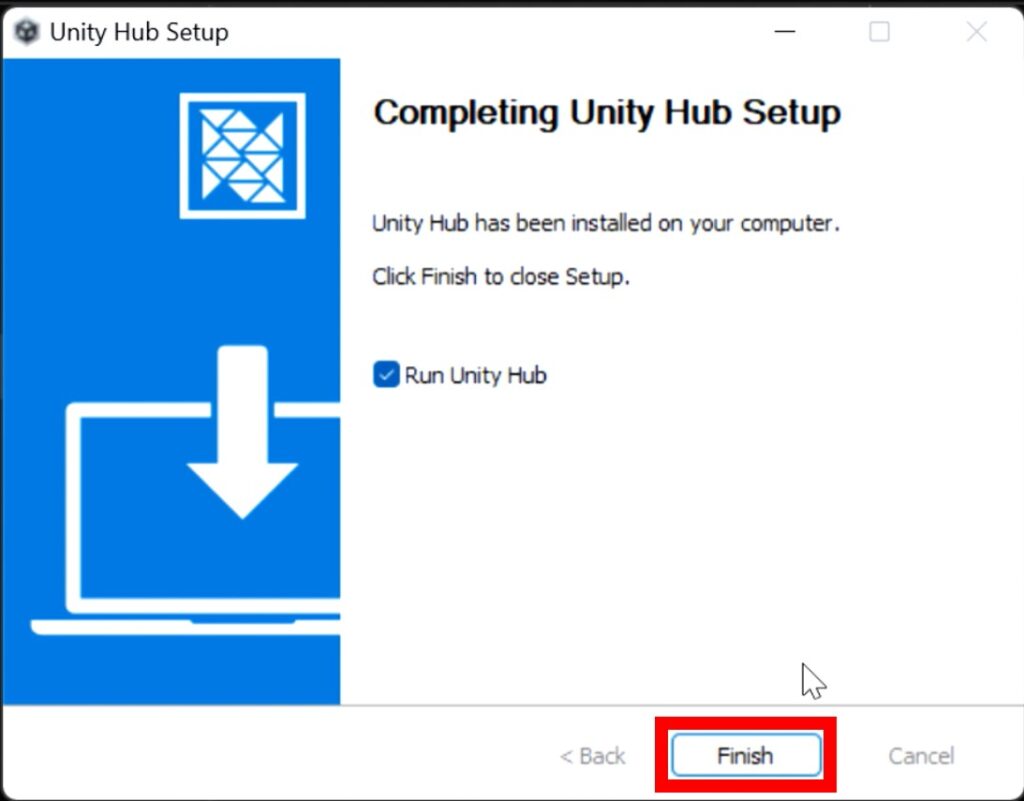
以下の完了メッセージが表示されたら「Finish (完了)」をクリックします。
③ Unity ID の新規登録とサインイン
インストールされた Unity Hubが起動します。
Unityを初めて使用する場合は、Unity IDの新規登録をします。「Create account」をクリックします。
(Unity IDを既に持っている場合は、「Sign in」をクリックしてサインインします)

Unity IDの新規登録画面が表示されます。
Email、Password、Username、Full Nameを入力します。
(Usernameは他の人に使われてないものが必要です。もし既に誰かに使われる名前だと、既に存在するので、他の名前にして下さいとメッセージが出ます)
チェックボックスへのチェックを行います。
そして、「Create a Unity ID」をクリックして Unity IDを新規登録します。

新規登録すると、同時にサインインもされます。既にUnity IDを持っていた方は、サインインして、ここから始めます。
(Email、Passwordを入力して「Sign In (サインイン)」をクリックします)

④ Unity エディタのインストール
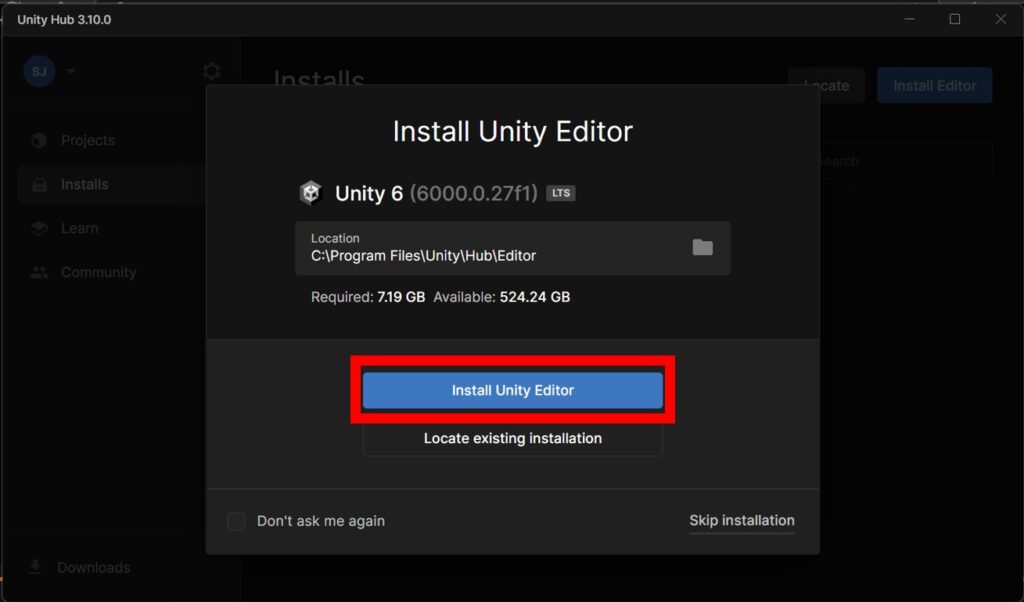
初めてUnityをインストールする場合、Unityのインストール画面が自動で表示されます。
「Install Unity Editor」をクリックします。
(自動的に最新の安定バージョンが表示されます。Location (インストール先)はそのままでかまいません)
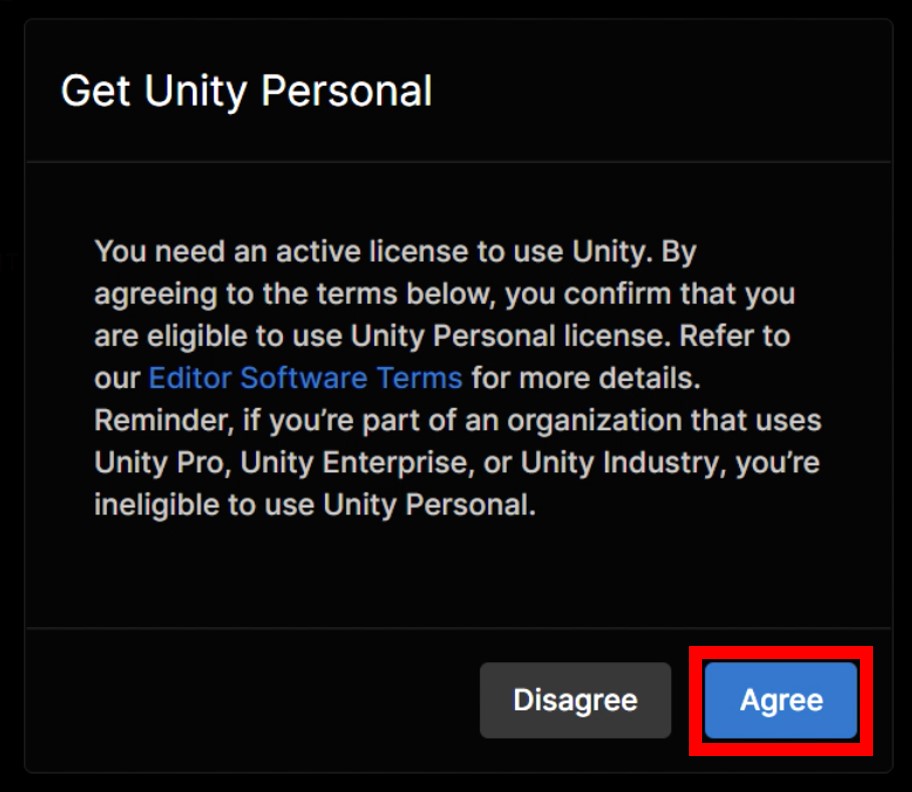
Unity Personal ライセンスの確認画面が表示されますので「Agree 」をクリックします。
(Unity Personal は無料ライセンスです)
Unityのインストールが始まります。
(ここでは時間がかかる場合もあります。ネットワークの状況により失敗で終わる場合もあります)
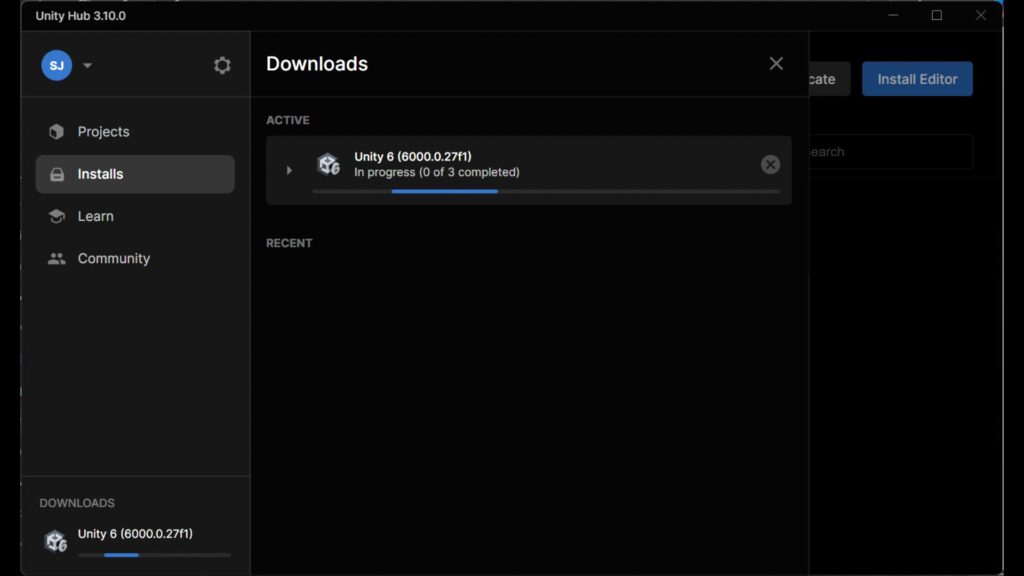
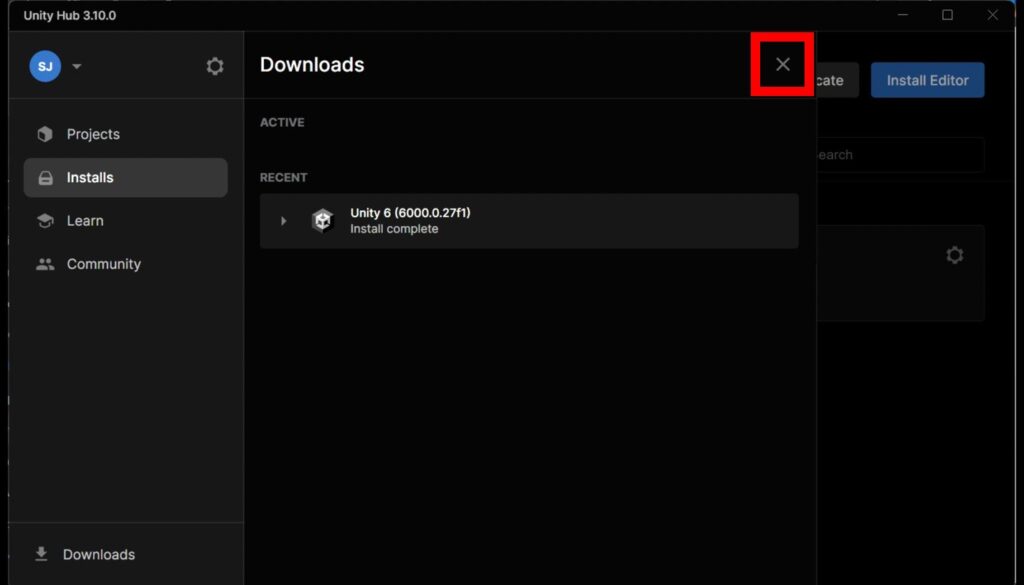
Unityのインストールが正常に終了しました。「×」クリックで Downloadsウィンドウを閉じます。
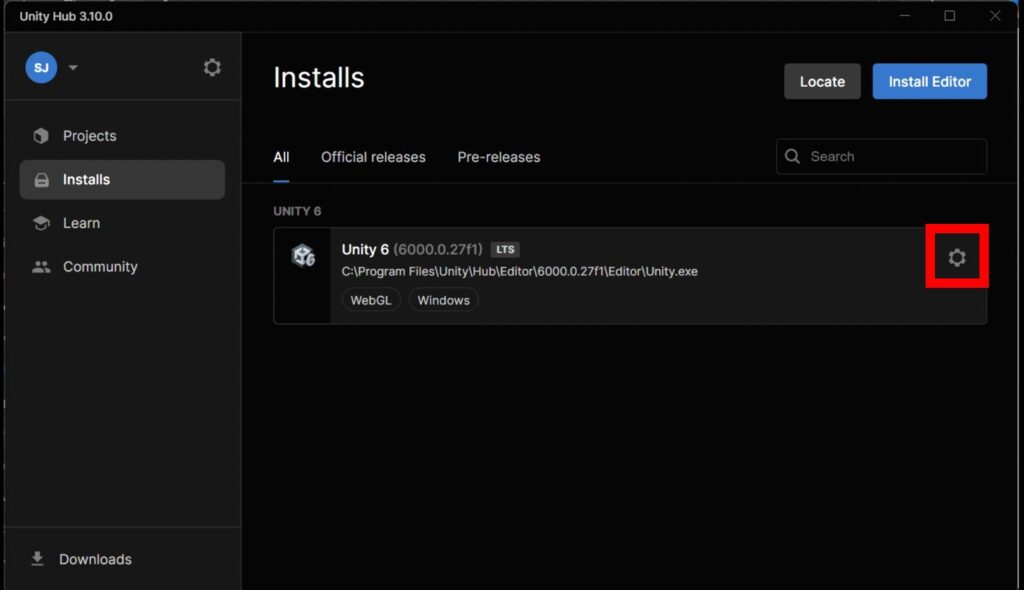
⑤ Visual Studioのインストール
インストールされたUnityバージョンが表示されています。右側にあるネジのアイコンをクリックします。
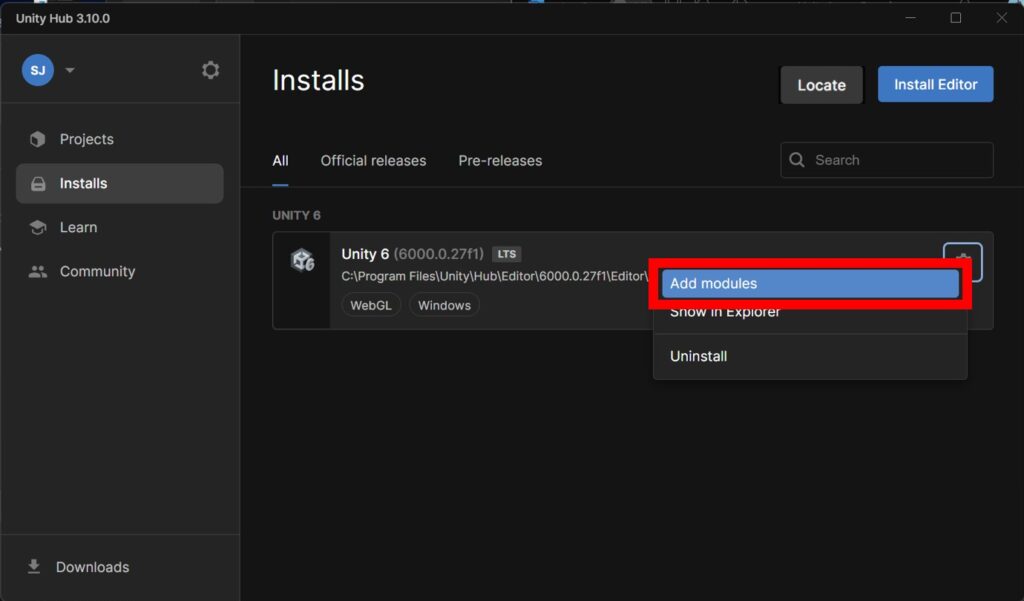
表示されたメニューから「Add modules」を選択します。
表示された Add modules画面で「Microsoft Visual Studio Community 2022」をチェックして「Continue」をクリックします。

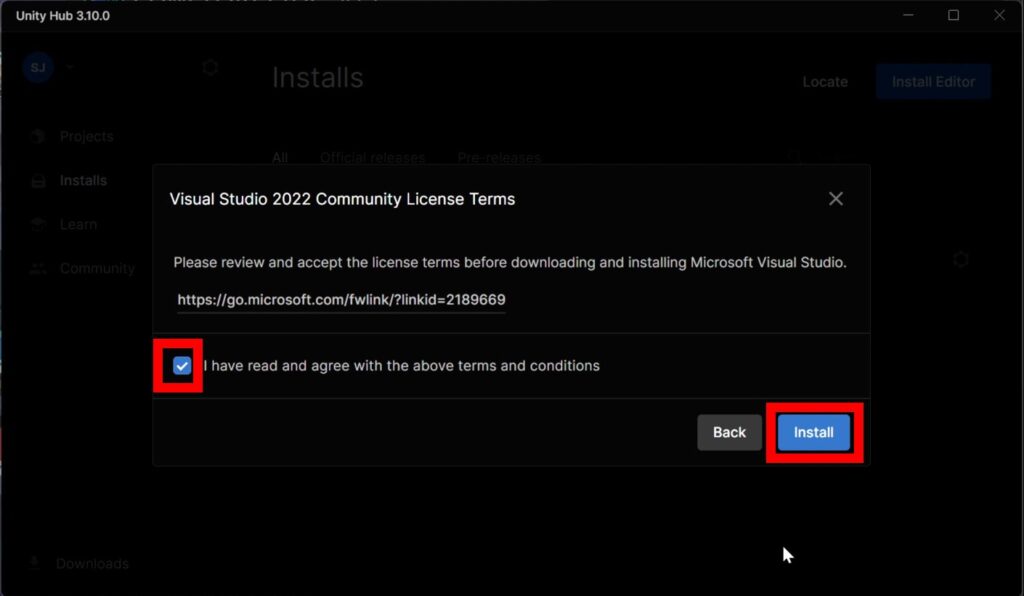
Visual Studio 2022 のライセンス確認画面が表示されますので「I have read and agree」にチェックして「Install」をクリックします。
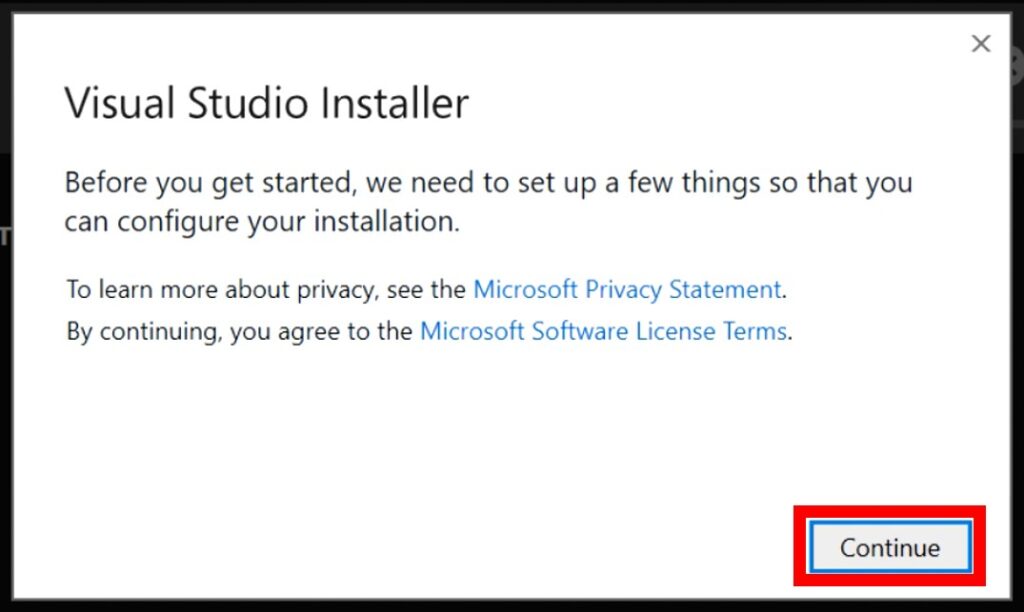
Visual Studio のインストーラーが立ち上がる前にこのウィンドウが出たら「Continue」をクリック。
インストール画面が表示されます。インストールWorkloadを選択します。
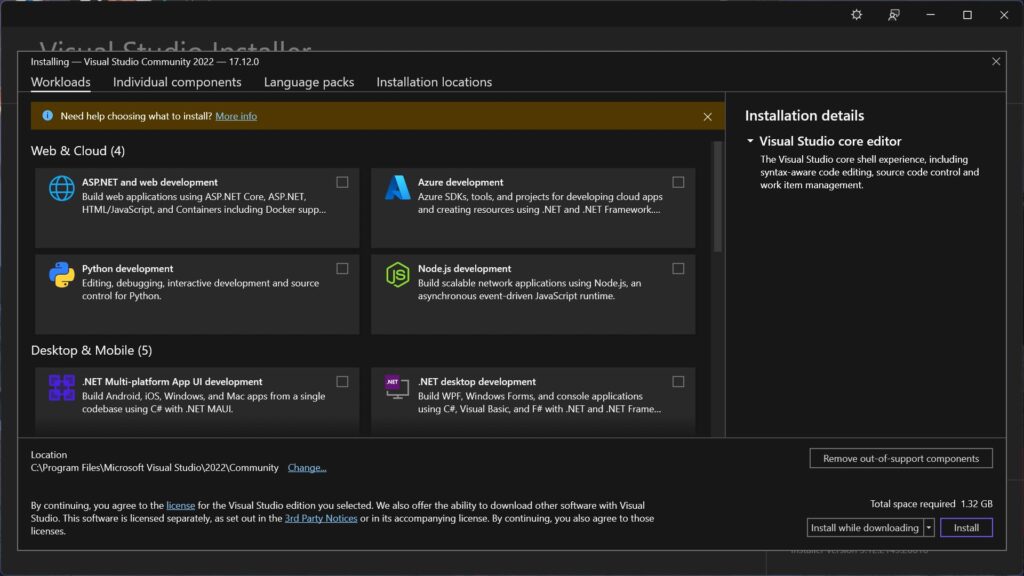
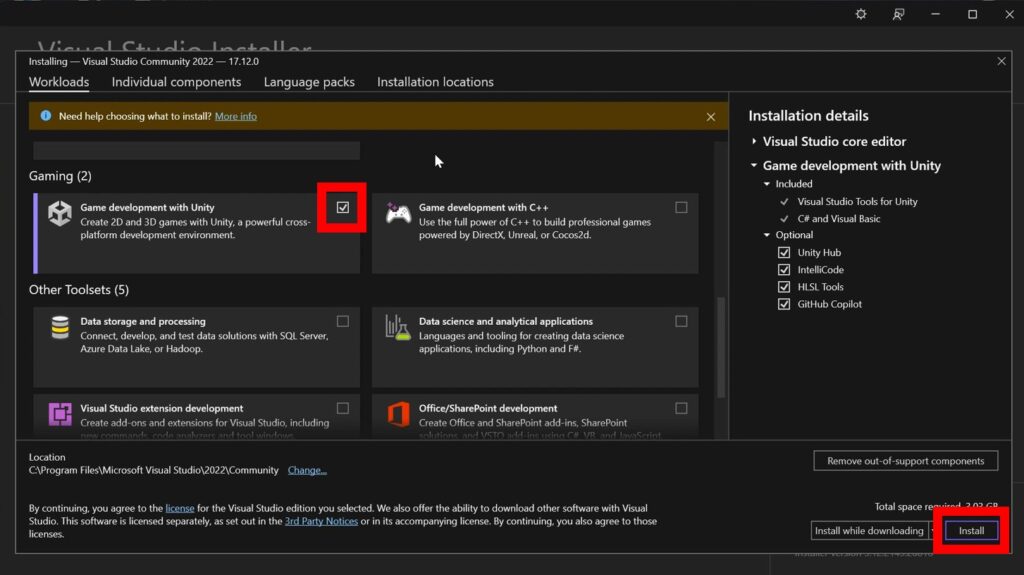
以下のWorkloadsをチェックをして「Install」ボタンをクリックします。
・ 「Game development with Unity」
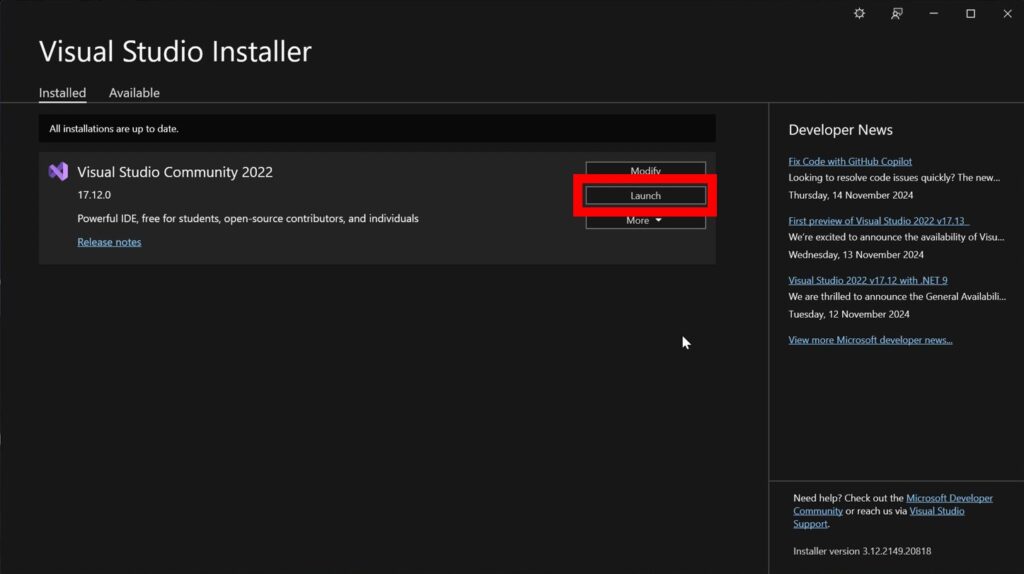
インストールが終了したら「Launch」ボタンで Visual Studioを起動させます。
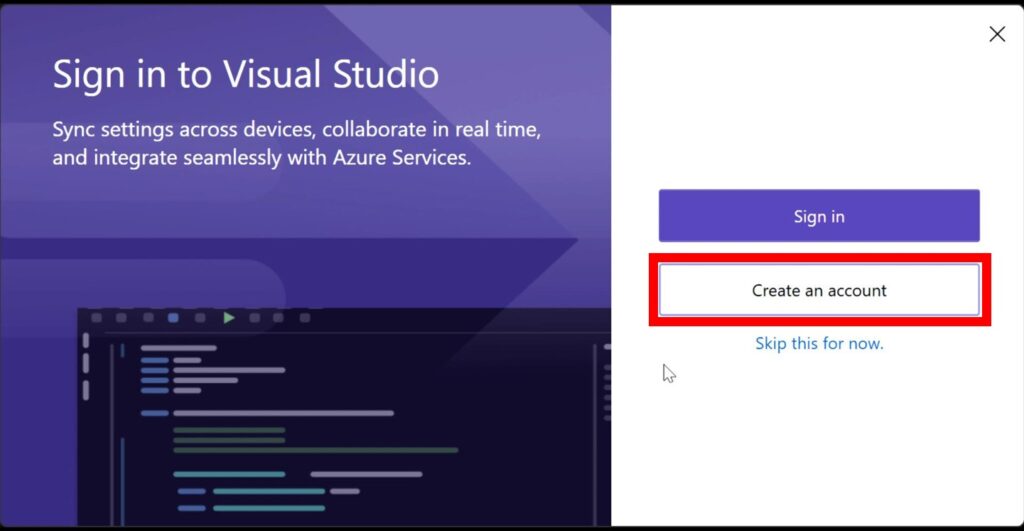
するとサインインの画面が出ますので「Create an account」クリックで Visual Studioのアカウント登録をします。
(既にアカウントを持っている場合は「Sign in」をして下さい)
アカウントの登録後、サインインまでしておいて下さい。
Unity Hub、Unityエディタ、Visual Studio のインストール作業自体はここで終了です。
(これ以降の作業も Visual Studioを使用するのに必要な設定なので作業を続けて下さい)
⑥ Unityエディタ上で外部ツールの設定
ここから Unityエディタ上の設定をするため、一度プロジェクトを作成します。
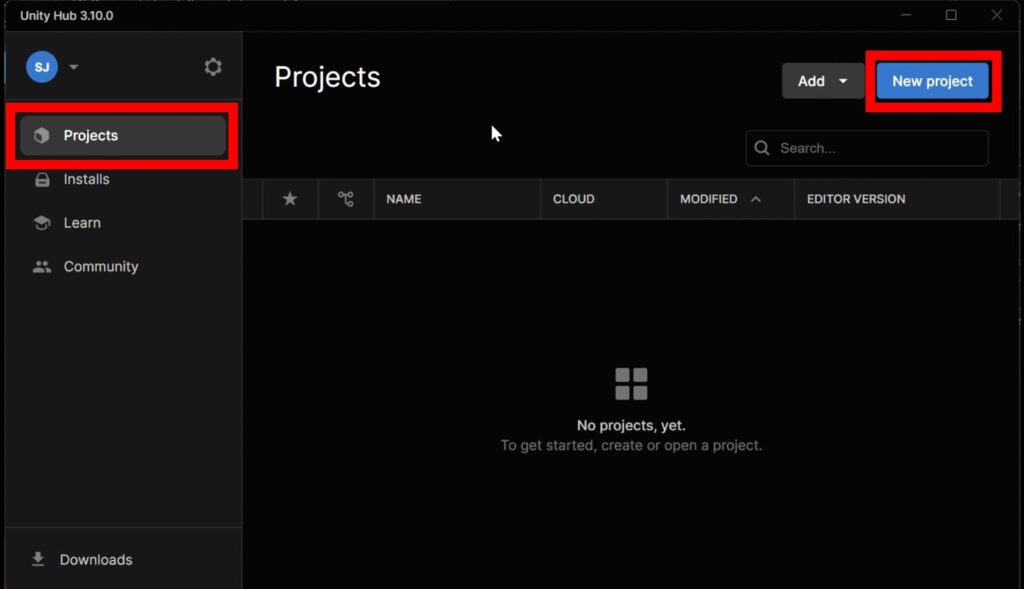
Unity Hub上で左メニュー「Projects」を選択して、右上の「New project」をクリックします。
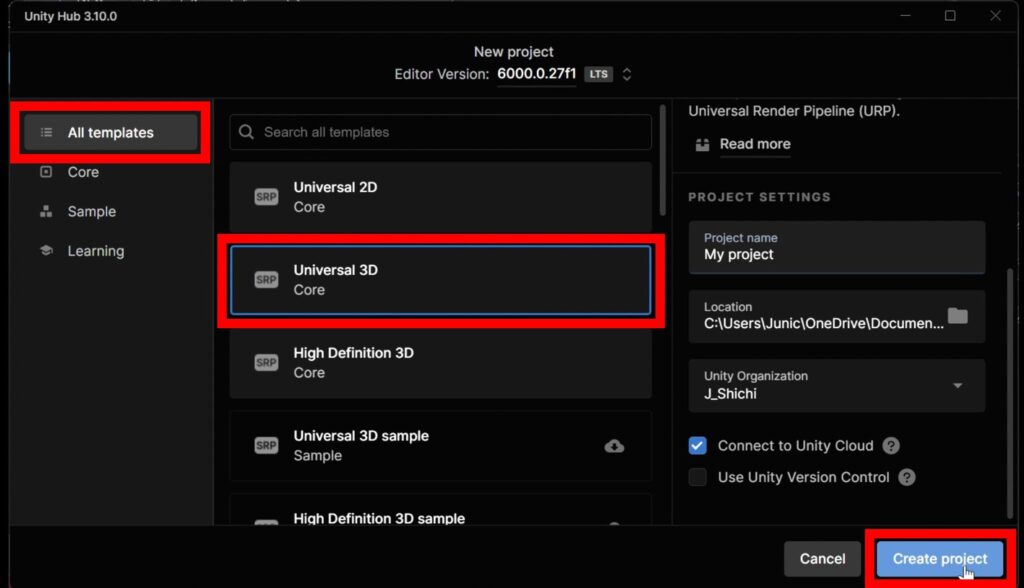
左メニュー「All templates」を選択して、「Universal 3D」のテンプレートを選択します。
そして「Create project」クリック。
(Location:ファイルの作成位置はどこでもかまいません。)
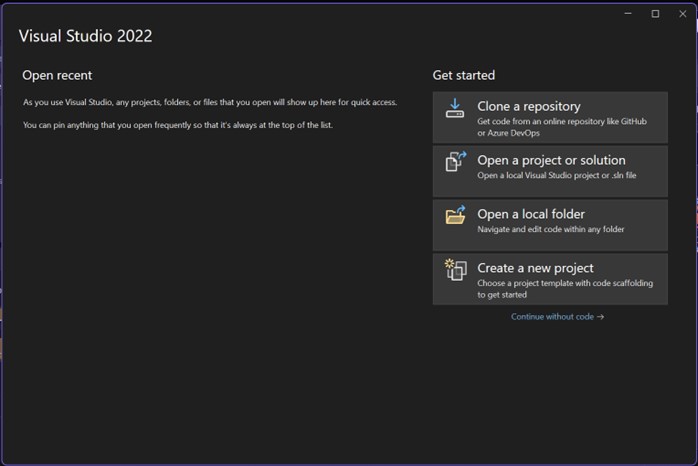
Unityエディタが起動しました。
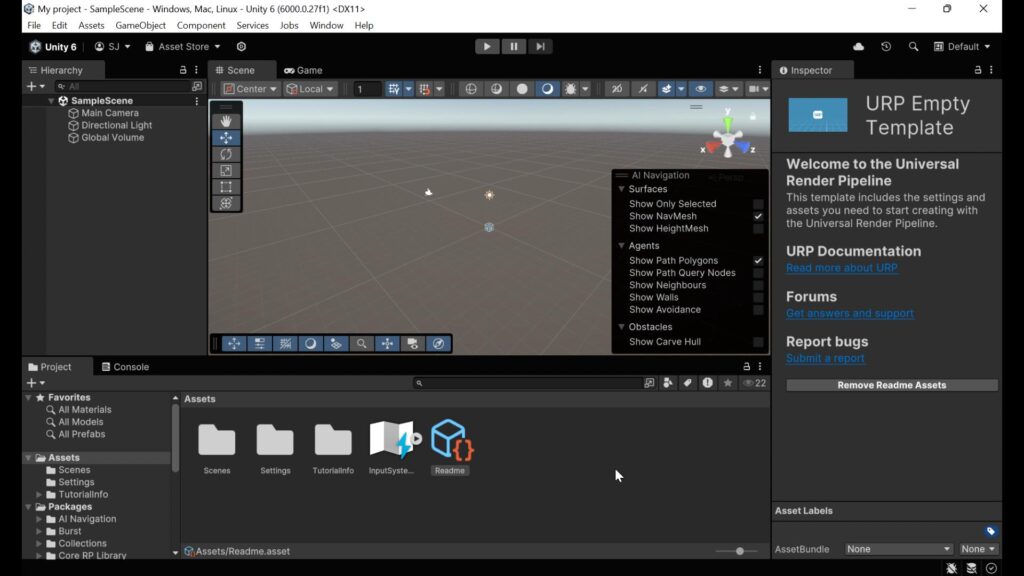
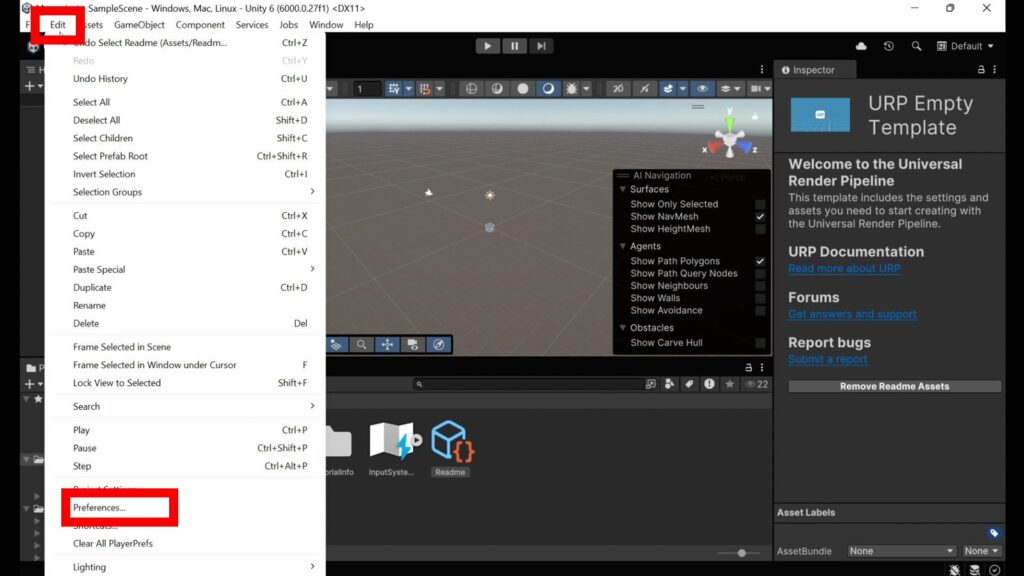
Unityエディタのメニューから「Edit > Preferences」を選択します。
Preferences画面の左メニュー「External Tools」を選択し、External Script Editorのプルダウンが「Visual Studio 2022」であることを確認します。
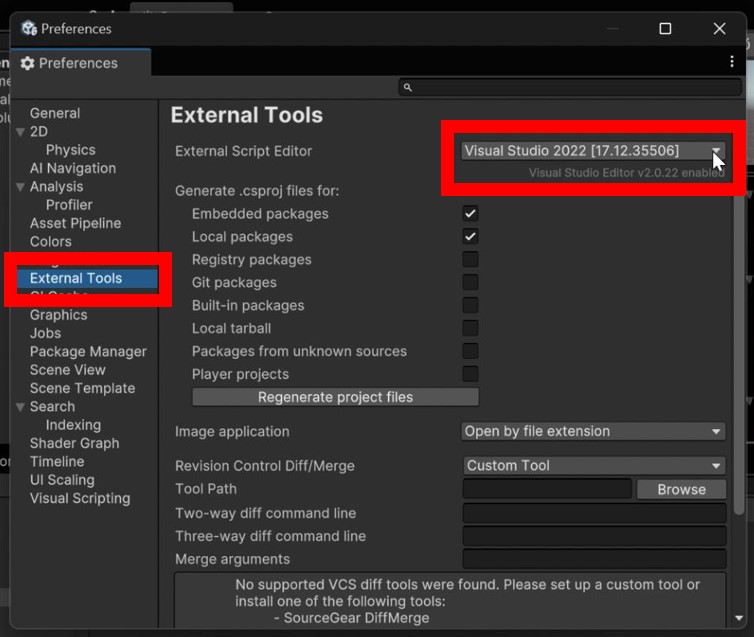
これでUnityエディタ上で外部ツールの設定は終了です。
⑦ Unity と Visual Studioの連携確認
Unityエディタに戻り、連携がうまくいってるかを確認します。
試しにスクリプト(プログラム)を1つ新規作成してみます。
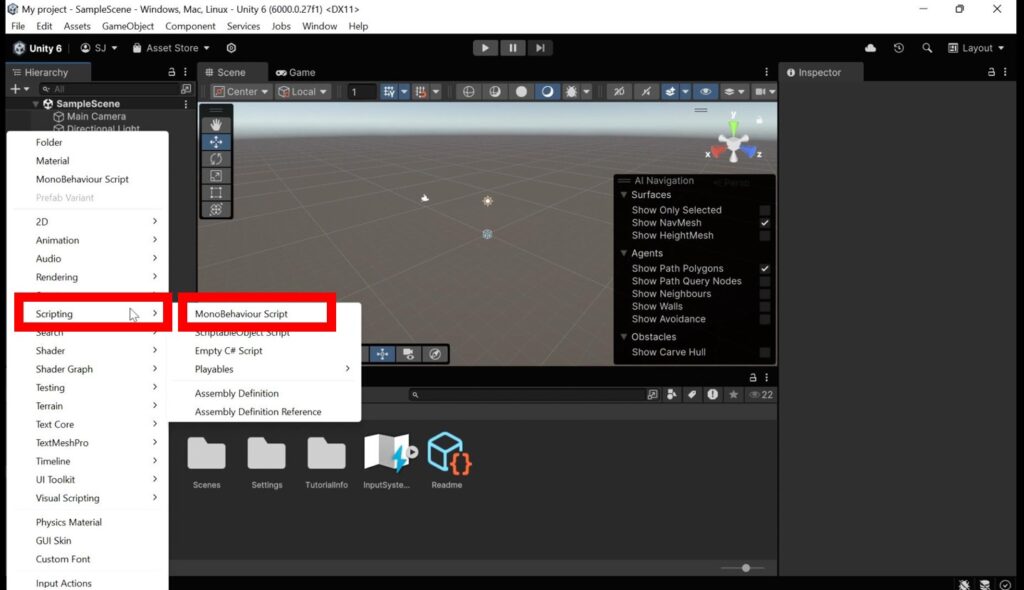
Unityエディタの Projectビューにある「+」ボタンをクリックします。
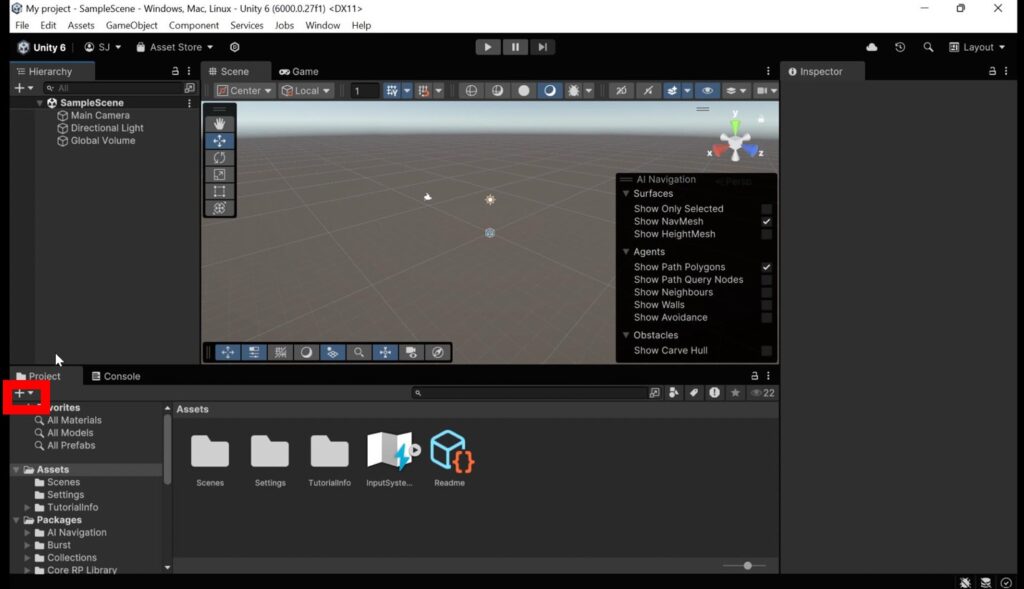
新規作成メニューが表示されますので「Scripting > MonoBehaviour Script」を選択します。
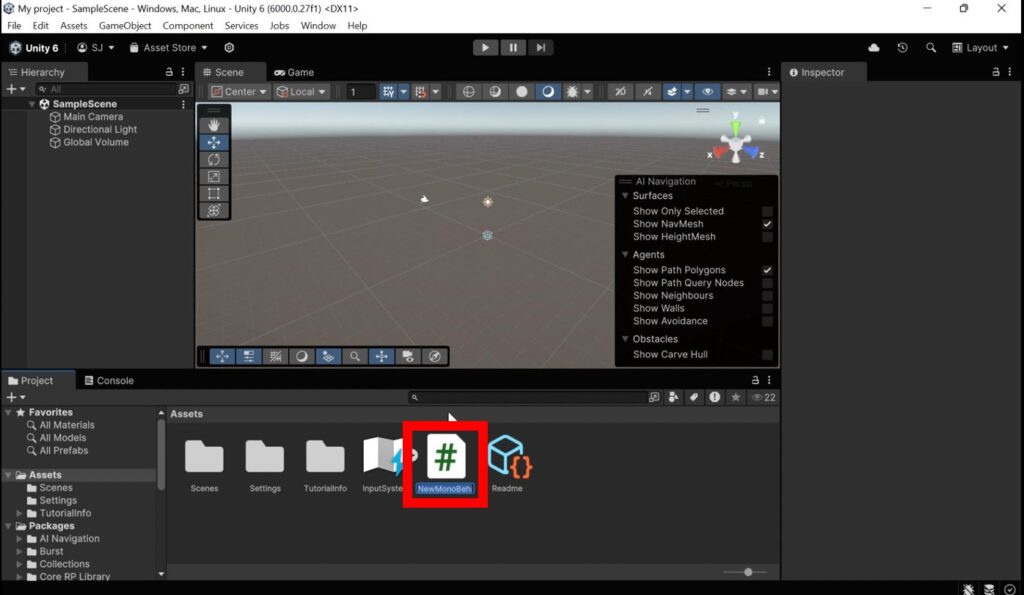
Projectビューに C#スクリプトファイルが作成されました。
その C#ファイルをダブルクリックします。
自動的にVisual Studioが起動して、C#スクリプトが表示されれば Unityと Visual Studioは連携されています。
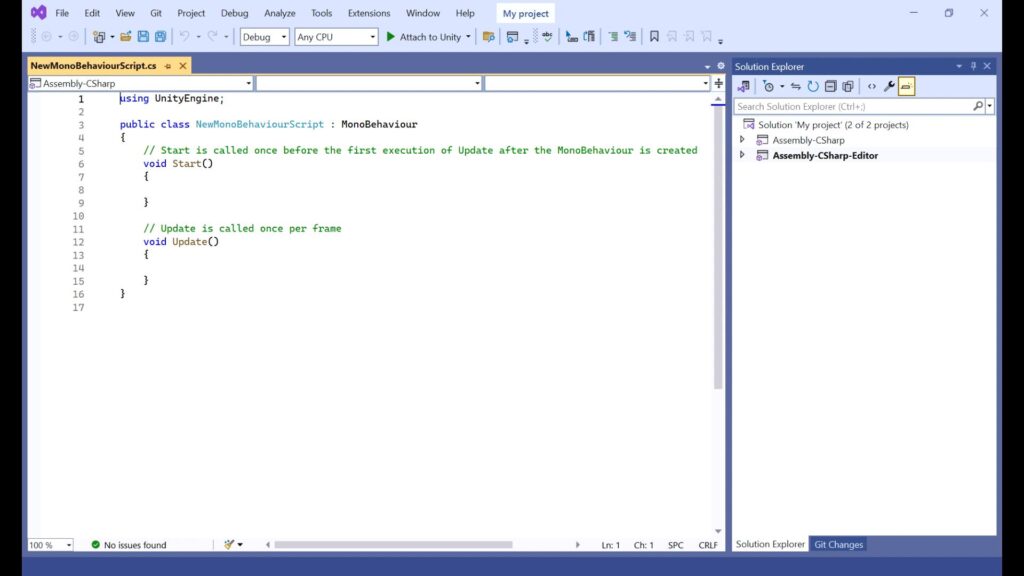
Unityのインストールは終了です。
これで、本格的なゲームプログラム開発の準備は整いました!!